A long time ago, the High School years, my Dad suggested I take wood shop class. A great class to take for anyone who likes to build things or learn how things are built out of wood. I know, because I have used the knowledge learned back in wood shop a zillion times. It amazes me how many guys don't know a thing about woodwork....but that's another story. One of my projects was to build myself a small wooden drawing board which I did and used at home for years. Just a flat piece of wood with two "legs" that slanted to allow the drawing board to be angled on a dining room table or desk while you drew, it worked great.
After getting out of the Army and getting married and years later that drawing board was nowhere to be found. My drawing board once again became the kitchen or dining room table or any other flat surface that could be found...I took painting class in college and bought a really cheap easel to work on in the garage....this was due to orderless turpentine not being around then and you didn't want the kids getting a contact high inside the house. One thing about the struggles of an artist to find a place to work is it really makes you appreciate a good place once you get it!
So, we enter the current drawing painting setup due to Artist Luck#1....Early one morning I jump on the computer and go to Yahoo Auctions (my local) which practically doesn't exist anymore. Having some money finally in my bank account, I type in "Drafting Table"....and low and behold I find a guy selling one a few miles away for $60.00. A killer table with all the bells and whistles, used, heavier than the Titanic and now sitting 10 feet away from me as I type!
Now Artist Luck #2....I was driving a truck delivering to a company and noticed some flat drafting files, ...2 of them that stack together and usually cost about $400-600 a piece, sitting in their parking lot. Turns out one of the guys there was using them to store small tools in and I asked if he wanted to sell them....he says "$30 bucks" and I couldn't pull the money out of my pocket fast enough! We loaded them onto the back of my truck with a forklift and they are now with me storing my art ambitions.
I now live in a home with a garage that was converted by the previous owner as a studio to do photography. His old dark room is now my storage closet for art supplies. I've aquired a nice solid oak easel for painting and life is good. When I say it is a long way from a wooden table top drawing board I know what I am talking about...took me over 30 years to get here. Now, if I had taken classes in business management or computer programming back in college I would have gotten a great money making job and had this stuff years ago...but artists like to suffer right?
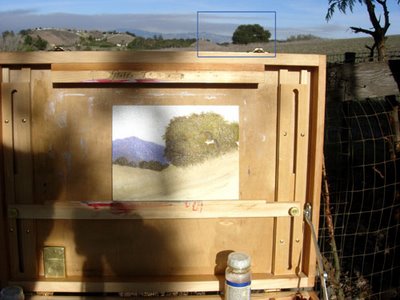
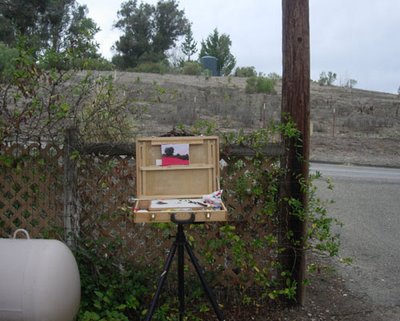
Here is where the painting happens.....
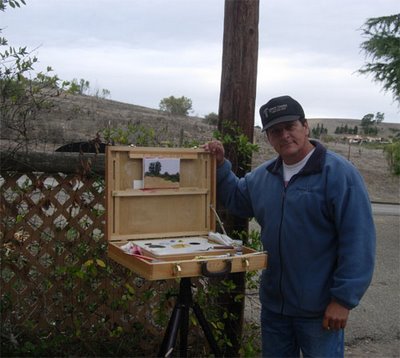
Looks like I did the dramatic lighting thing for a brochure but in reality I was actually working on that lower painting and decided to just snap a shot of the setup...remember, this is a converted garage and most garages don't have big artist needing windows facing south.
I can't see spending megabucks for a wooden taboret so eventually I'll just make one...in the meantime I bought this wire rack on wheels with bins at Costco, Target or WalMart...can't remember but it was pretty cheap. I've seen awesome oak ones in an art supply store down in Santa Barbara but price-wise it's like buying a house! I'm sure you can go through an Escrow company to help you out with the purchase of it....not me, I'll make one. Get one with wheels! I am always moving this thing around and glad I'm not picking it up all of the time....and besides, you can roll the coffee closer to you as you paint and it gets later at night!
For additional art supply storage it is hard to beat getting plastic stacking bins. You could even put one of these in a closet to keep "out of sight out of mind" from the ever forgetful teenager or wife/husband that is always looking for something to write with...like your art supplies!

An artists needs a place to work and places to store the equipment needed to create art. Unless you are the son or daughter of Donald Trump or Bill Gates you might have to wait a while to get that but if you keep your eyes on the prowl for the great finds out there you can do it. I did it, so can you....just remember to appreciate it!

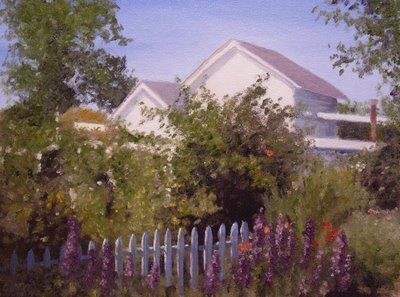
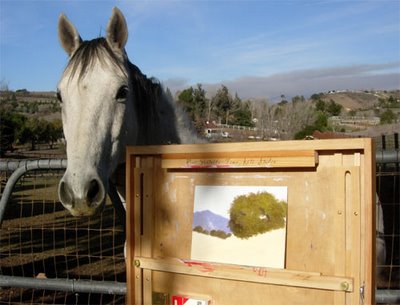
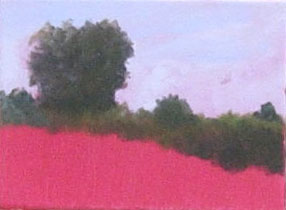
 And the fnished piece. I probably spent about less than an hour actually painting it but it was spread out talking and eating lunch. A little 6"x8" Oil on Ray Mar panel.


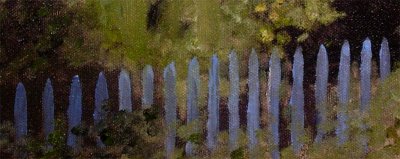
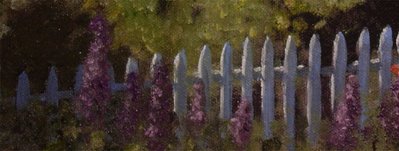
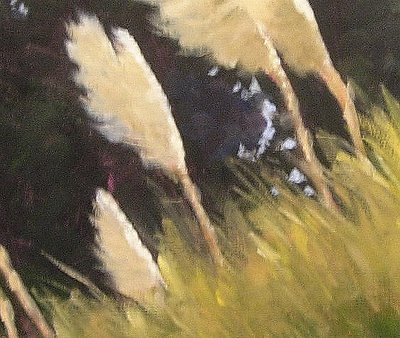
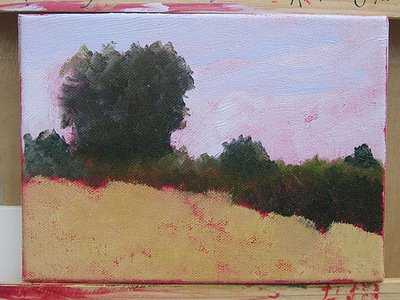
 Here is a closer detail of this
  Step 2...We now mix up white with just a dab of Alizarin and a dab of UBlue for a light pinkish blue mixture for the lighter shades of the clouds. Before blocking in this mixture I add pure white to areas of the clouds where I want the brightest highlights. Then I paint in my pink mixture, again you don't have to accurate here, just block it in the general areas.
 Step 3...Before we convert that mixture to the darks for the clouds we grab some to keep seperate for blending later. Here you see my sky blue mixture, the light pinkish mix and the blob I am saving at the top of the palette.
 Now I darken my original mixture with more Alizarin and UBlue (SAVING MY BLOB for later)
 We now paint in the darks of the clouds and get happy because we are almost to the blending stage....
 Some areas are lightly painted in to create the shapes of the upper cloud areas...gives it that billowy-puffy look called "Shape" in art lingo.
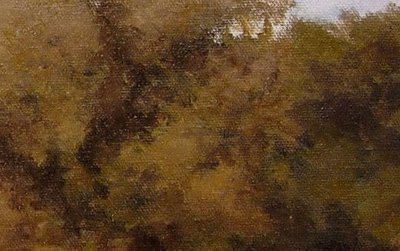
 A detail of the blended version....
 Step 5... I basically finish the painting, the ground area to let the sky have tme to set up a bit. The last thing I do is go back into the sky area and add some darker wisps of clouds over the rest to give the clouds a more 3 dimensional look to it. Just dab some random dark paint and then blend lightly.
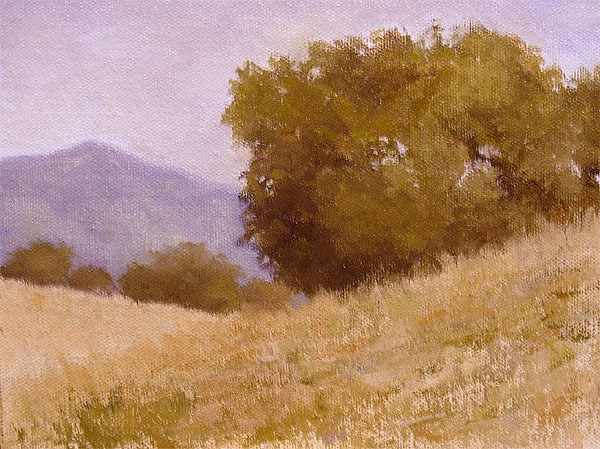
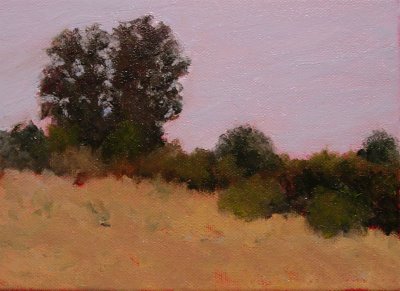
 Here is my finished painting with the ground area completed.....
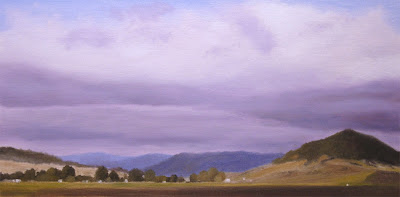 That's basically it....stay loose, play with blending until you like your results...if it goes bad just add more paint the the areas you blended too much and blend again. If you don't have a fan brush go get one...wipe it off as you blend in different ares that are critical of color...you don't want to start blending a white highlighted area with a fan brush still loaded with your darks on the brush.


