This scene is one of the Santa Maria, California fields. A good part of the produce out of California comes from this region. Seeing workers out in the fields is something I've seen many times and was dying to paint. So here goes......
First, I block in my sky colors...Titanium White with just a slight bit of blue to tone it down for the clouds....some Alizarin Crimson added to other parts of the clouds to tie the sky into the land which will have crimson dirt...and then some white with more Ultramarine Blue to give me some blue skies. This is painted in and slightly blurred together with my brush.
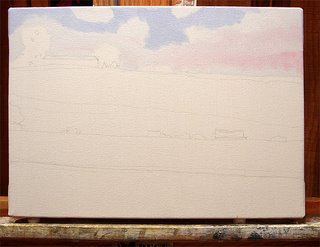
Once this is in place I tehn take my fan brush and blend the entire sky using a cross hatching pattern. This softens the edges of the clouds to blur into the blue of the sky. It also softly blends the pinkish reds into the whites of the clouds to give some soft glow to the clouds. If you lose too much of whatever color in the blending process then just take your initial brush and add some of whatever color you want back to the part of sky you need it in and softly blend again till you get what you want.
You can blend your colors to whatever degree you want...now if you go crazy doing this and do too much blending just scrape off your paint, wipe the canvas down with a little thinner and do it all over again remembering not to get hypnotized by the blending process! haha. The first time you ever do this blending process you'll think you've created the best sky you've ever done.
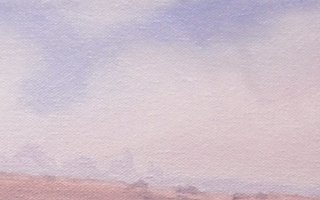
Here is a detail shot of some of the sky showing the blending result.....
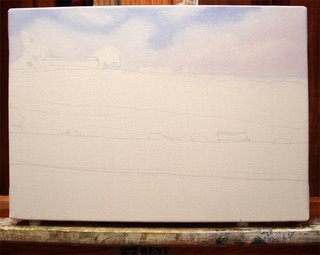
Next we add the background distant trees and the midground trees and house. Notice that I paint around the trees and house when doing the sky. I also didn't paint the area of my distant background. This allows me to paint these in right after finishing the sky instead of waiting a day to do it while the sky dries. I then will add the ridge and will begin laying in the field in the next part......
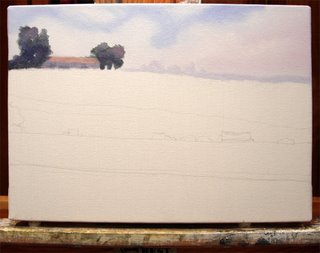
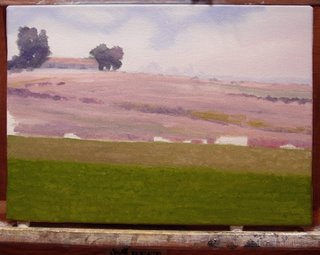
Here you can see the field pretty much painted in. This was all done with just the 3 primary colors and white...oddly enough, the same colors used in the sky minus the yellow. By doing this mix of just these colors I force myself to learn to mix instead of just adding some other color I have bought and it keeps my painting in uniform in color. I'm at this point in my painting career to stay away from using every color in the rainbow. Just a personal thing. One good thing about this is that I've learned to make many shades of green...plus keep my costs down on buying paints.
As you can see I've left the area of parked cars and trucks alone, painting around them, so I can paint them in right after doing the field. This is very important. It is very hard to paint over wet oil paint so do yourself a favor and paint around them.
Next we add in the cars and trucks and the farm workers. The workers are really small dabs of paint so I didn't feel I needed to paint around these areas but if you want to do that go for it. After painting in the figures I went to bed and then checked it in the morning. I decided I wanted more detail there so I added some to the figures....basically, this painting was started and finished on 1 day. That's pretty fast for me at this point in the painting game...most of my work takes 2-3 days to complete.

OK....here is the final piece all finished up. Hope you like it......
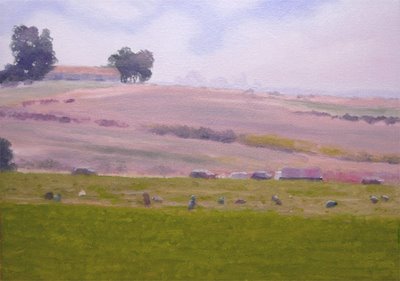
"Santa Maria Fields"
10"X14" Oil on Canvas
No comments:
Post a Comment